General
Mesh Morpher 6.0 Release
By Admin ·
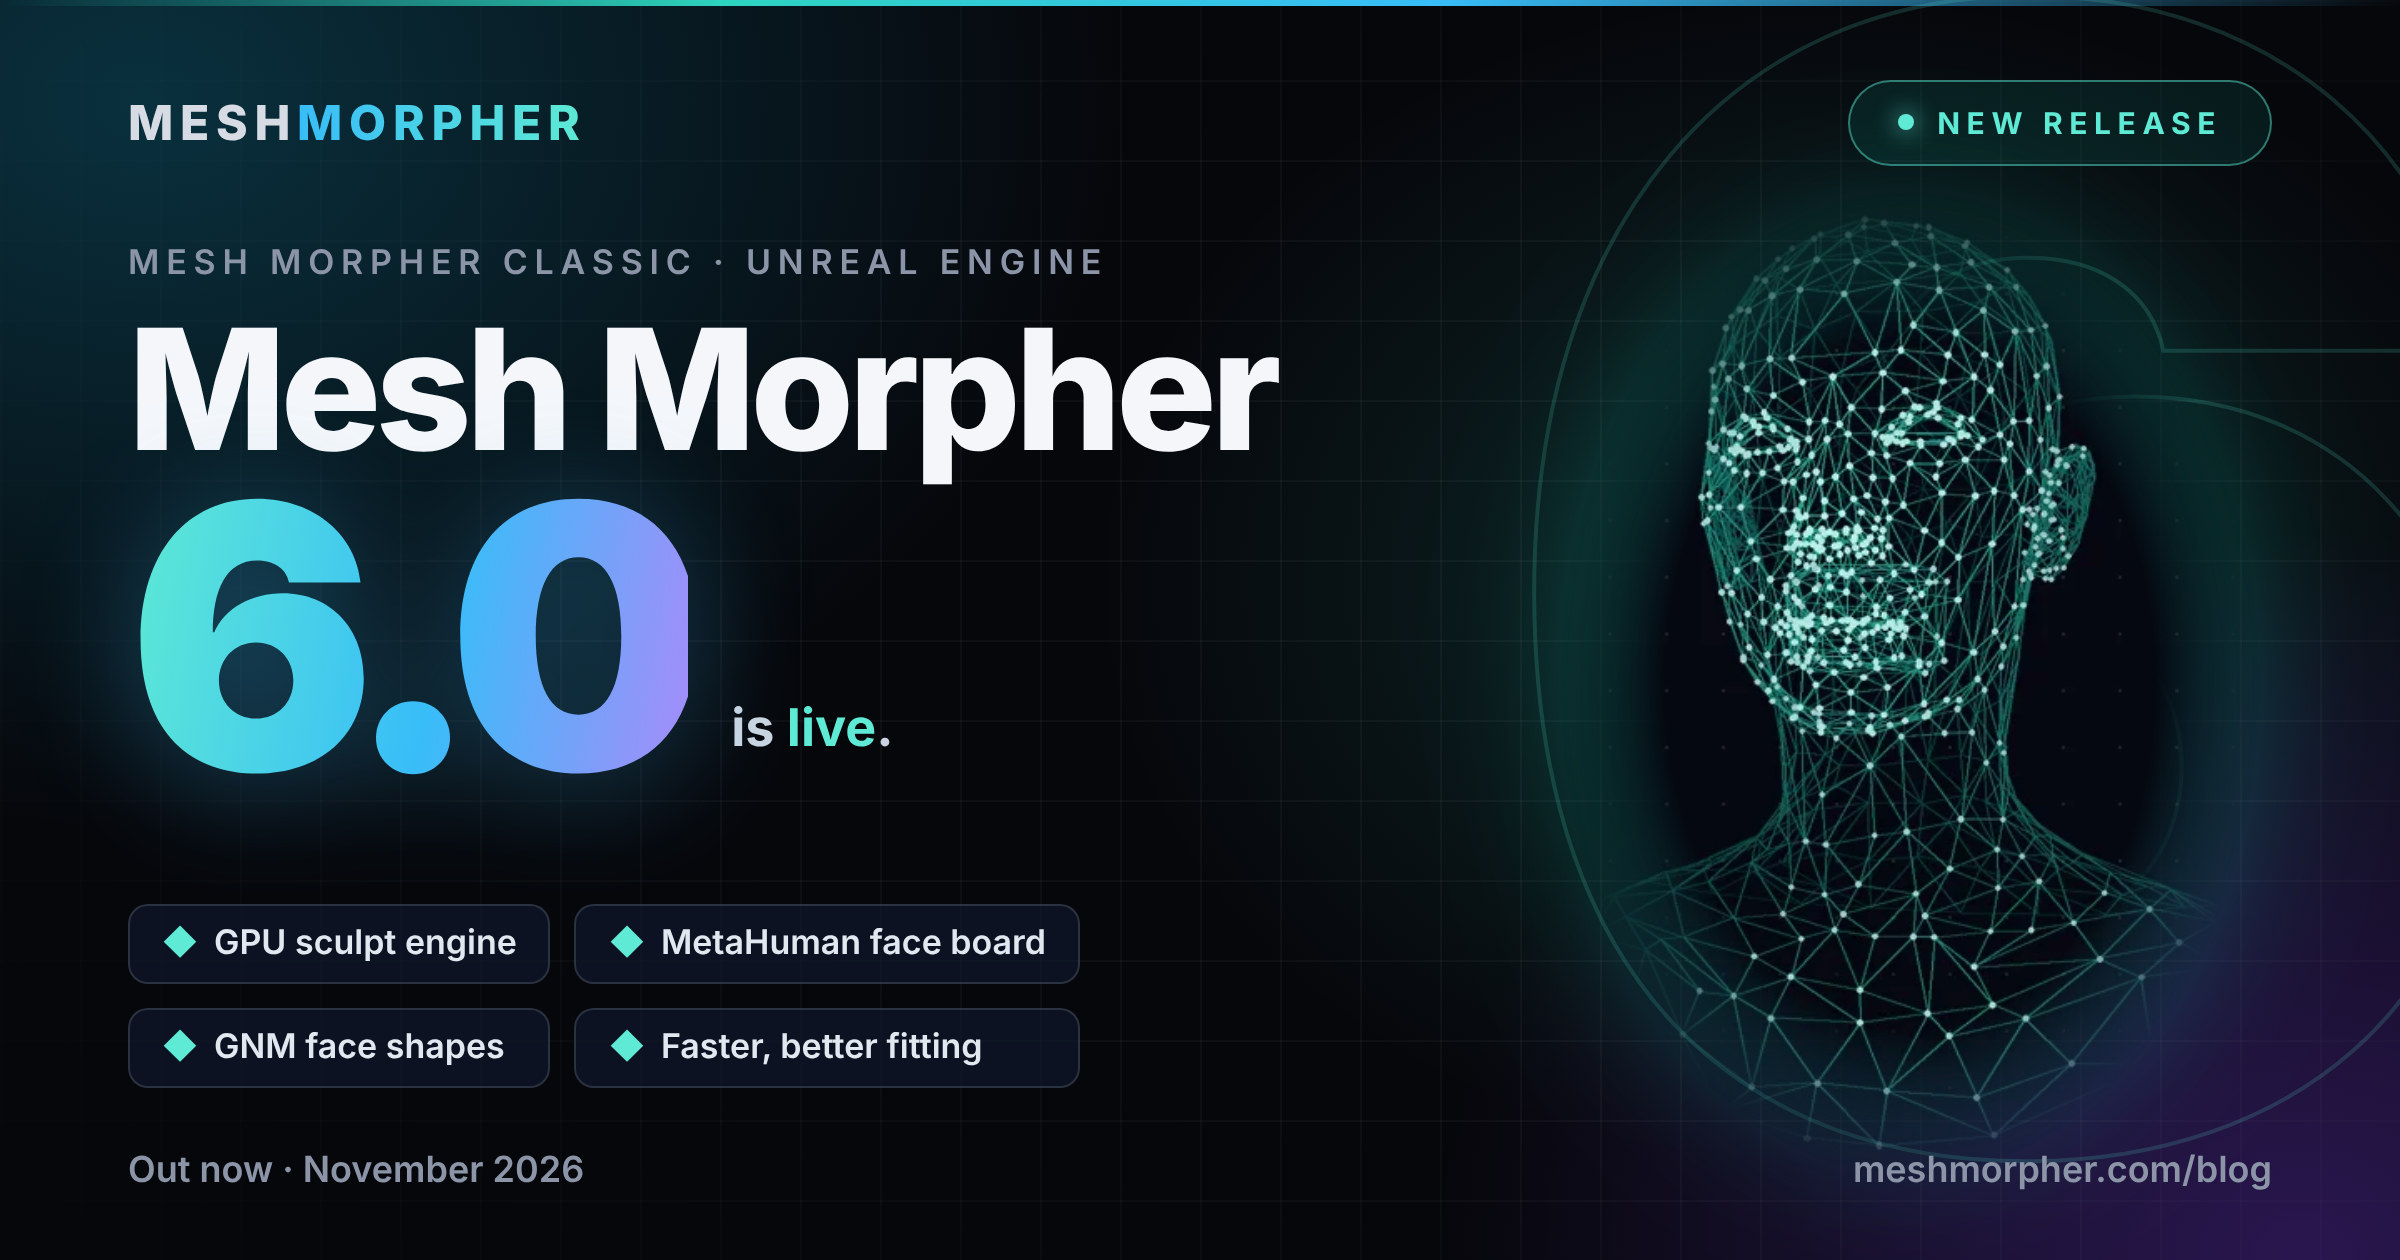
Mesh Morpher 6.0 is live. It is the first major version of Mesh Morpher Classic since 5.0, and it changes the parts of the plugin you touch most: how you sculpt, how you pose a MetaHuman face, and how you fit one mesh to another. It also brings two things over from Graph and Studio - the GNM head model and Graph's skeleton solver - so Classic now shares more with the rest of the Mesh Morpher family.
Here is what is new, and what it means in practice.
A new GPU sculpt engine
Sculpting in Mesh Morpher now runs on a new GPU sculpt engine - the biggest change under the hood in this release.
The way a session works has changed too. A sculpt session now opens in its own preview viewport:
- Accept saves the result into the selected morph target.
- Cancel restarts the session from the unedited mesh.
Nothing touches your morph target until you say so, which makes it safe to try something bold and throw it away. See the Sculpt Tool docs for the brush settings.
A MetaHuman face board, in the toolkit and the Poser
Mesh Morpher 6 adds a MetaHuman face control board you can show or hide in both the main toolkit and the Poser. Instead of hunting through curve lists, you pose the face the same way an animator would - and then sculpt, correct or capture that pose with the rest of the toolkit.
- It works correctly with the MetaHuman post-process rig, so expressions are never applied twice.
- It is only enabled for meshes that have a DNA, and it closes automatically when you switch meshes, so the board always matches the face in front of you.
New face shapes from the GNM head model
A new toolbar dialog gives a MetaHuman face a whole new face shape from the GNM head model - the same parametric head that powers the GNM Head node in Studio and Graph. It works on any MetaHuman face that has a DNA.
You choose where the shape comes from:
- Presets for a quick starting point.
- Random for a fresh face on every draw.
- Gender and ethnicity settings to steer the sampler.
- The coefficient board, where every coefficient is listed by name and can be edited by hand.
The practical workflow is to roll until something is close, then finish the jaw, nose and brow on the board instead of rolling again and losing what you liked. For a deeper look at how the GNM model works, read Generate Random and Parametric MetaHuman Heads.
Better DNA expressions
Create DNA Expression works better in 6.0 and gains new options, including how to treat the Corrective Blendshape:
- Keep - leave the existing corrective as it is.
- Rewrite From Residual - rebuild the corrective from what the joints cannot reproduce.
- Remove - drop the corrective and let the joints carry the expression.
More in the MetaHuman DNA docs.
Fitting: faster, steadier, and on Graph's solver
Fitting is where most Mesh Morpher pipelines start, and 6.0 improves all of it.
- Rigid Fit, Non-Rigid Fit and Elastic Conformer are considerably improved, including the GPU solver.
- Non-Rigid Fit has a new Profile option - Fastest, Balanced, High Quality and Custom - and starts on Balanced, so a good result no longer depends on knowing which settings to change.
- Fit Skeleton has also been improved.
- Match by UV is greatly improved across the whole app, so every tool that pairs vertices by UV benefits at once.
The fitting tools live in the Wrapper; UV matching options are covered in UV Match.
Get it
Mesh Morpher 6.0 is available now - see Install if you are setting it up for the first time. Every release is listed in the patch notes, and the full feature tour is on the Mesh Morpher Classic page.
#classic#release#sculpting#metahuman#dna#gnm#fitting#unreal-engine
Related posts
- Create Custom Nodes with Python and Expressions in Mesh Morpher Studio
- Mesh Morpher Studio
- Mesh Morpher Graph 2.0 Release
- Organize and Categorize Morph Targets with Mesh Morpher Classic
Looking for reference material? Read the Mesh Morpher documentation or see pricing & licenses.