Classic › Editor › Advanced Operations
Wrapper
The wrapper is a new feature in Mesh Morpher and still experimental and WIP. Expect bugs.
Mesh Morpher documentation
Classic › Editor › Advanced Operations
The wrapper is a new feature in Mesh Morpher and still experimental and WIP. Expect bugs.
Classic › Editor › Advanced Operations › Wrapper
here are several options that allow users to interact with the Wrapper and pre-configure it.
| Option | Description |
|---|---|
| SourceMesh | Allows users to select the Source Mesh. Source Mesh is the mesh we want to take the shape from using the wrapper. |
| SourcePose | Allows users to set a pose from an animation sequence asset. |
| SourcePoseFrame | Allows users to select a frame from the pose animation sequence |
| bHideSourcePreviewMesh | Whether to hide the Source preview mesh component |
| bHideSourceReferenceMesh | Whether to hide the Source reference mesh component |
| Option | Description |
|---|---|
| TargetPose | Allows users to set a pose from an animation sequence asset. |
| TargetPoseFrame | Allows users to select a frame from the pose animation sequence |
| bHideTargetPreviewMesh | Whether to hide the Source preview mesh component |
| bHideTargetReferenceMesh | Whether to hide the Source reference mesh component |
| Option | Description |
|---|---|
| NewMorphName | Target Morph Name. If it exists you can overwrite. |
| Option | Description |
|---|---|
| bLockCameras | Whether to lock the cameras to same transform in both viewports. Works only when both viewports have the same view types. |
Classic › Editor › Advanced Operations › Wrapper
The Wrapper has various options that allow users to customize how the wrapping performs and influence its results.
| Option | Description |
|---|---|
| KNN | Number of closest points when looking for correspondents on the opposite surface. |
| AffinityThreshold | Affinity values higher than this make flag values 1 (all others 0). |
| bNormaliseAffinity | Allow vertex affinities to be normalized independently to negate distance bias. |
| VertexRange | Range for discovering correspondences |
| bUseOrientation | Whether or not to use Vertex Normals when evaluating correspondences. |
| Option | Description |
|---|---|
| Iterations | Number of iterations. Higher count often provides better results. |
| StickyIterations | Weight Smoothing Sticky Iterations. Higher value means less impact as the vertices are moving together. |
| ElasticIterations | Weight Smoothing Elastic Iterations. Higher value means less impact as the vertices are moving together. |
| Option | Description |
|---|---|
| SmoothNeighbours | Number of neighbors in local smoothing region for each vertex. |
| SmoothGaussianWidth | Smoothing Gaussian Width. |
| Option | Description |
|---|---|
| SourceResolution | Resolution subdivision for source mesh. |
| TargetResolution | Resolution subdivision for target mesh. |
| bForceFit | Force fitting attempts a final fit of the wrap result to the source mesh. This requires a higher source resolution for better results. |
| Option | Description |
|---|---|
| ControlPointInfluence | Control Point Influence Radius. |
| ControlPointNormalThreshold | Whether or not the Control Points can find in their radius only un-flipped triangles. |
Classic › Editor › Advanced Operations › Wrapper
Control Points are used to hint the geometry to the non-rigid fitting algorithm.
Control Points are used to hint the geometry to the non-rigid fitting algorithm.
Users can add as many Control Points they want and can overlap them without any issue.
Control points need to have same count and order in both target and source meshes as they`re used to hint correspondent landmarks between the two of them to the non-rigid fitting algorithm.
There are several options that allow users to configure how control points work in Mesh Morpher's wrapper.
In order to add/remove Control Points, users have to select Control Points in Advanced Menu.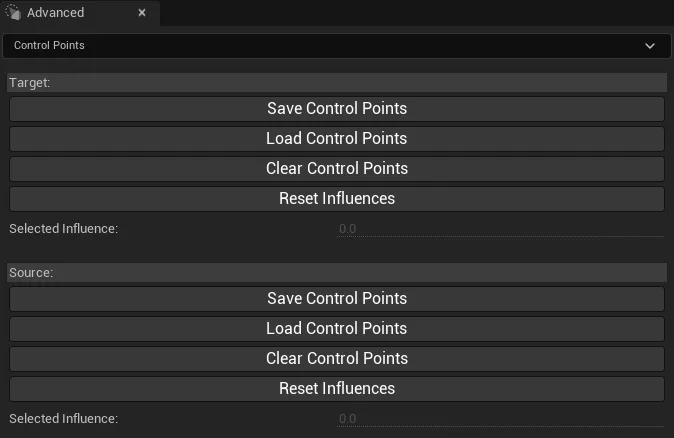
Users can Save, Load, Clear and change the Influence of the Control Points for both Target and Source.
To select a Control Point, users can Left Click on it which also allows them to change the influence for the selected Control Point
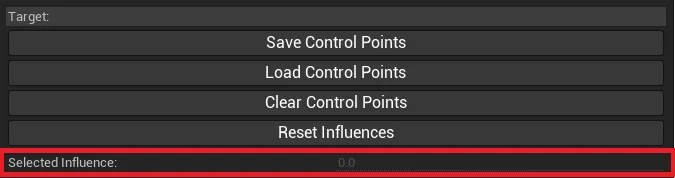
Reset Influence resets the Influences for all Control Points to the value located in Wrapper Settings.
Right Clicking on a Control Point will remove it and doing so will change the Index for the Control Points with a higher index.
Aligning bones, changing Section Selection or masking will clear out the selected Control Points.
| Options | Description |
|---|---|
| Control Point Influence | The Influence of a Control Point determines the radius in which the control points gather mesh vertices and uses them to find correspondent vertices in its Pair. |
| ControlPointNormalThreshold | Whether or not the Control Points can find in their radius only un-flipped triangles. |
Holding Left Shift while adding a Control Point will create a Symmetric Control Point as well.
There are several visual settings for Control Points that can be access by navigating to Edit->Settings.
| Options | Description |
|---|---|
| ElementThickness | The thickness used to display the debug sphere for Control Points |
| ControlPointSize | The size of the displayed Control Point dot marker on the mesh |
| ControlPointFontColor | Font Color of the Control Point Index Indicator |
| ControlPointFontShadowColor | Font Shadow Color of the Control Point Index Indicator |
| bShowDebugControlPoints | Whether to display the influence radius debug sphere for Control Points. |
Classic › Editor › Advanced Operations › Wrapper
The Bone Editor in the Wrapper allows users to match poses or set specific poses for both Target and Source.
In order to open Bone Editor, users have to select Bone Editor in Advanced Menu.
Selecting a bone in the Bone list or clicking on a bone in the viewport for both target and source will select the bone and display a Gizmo that allows to change rotation, translation and scale.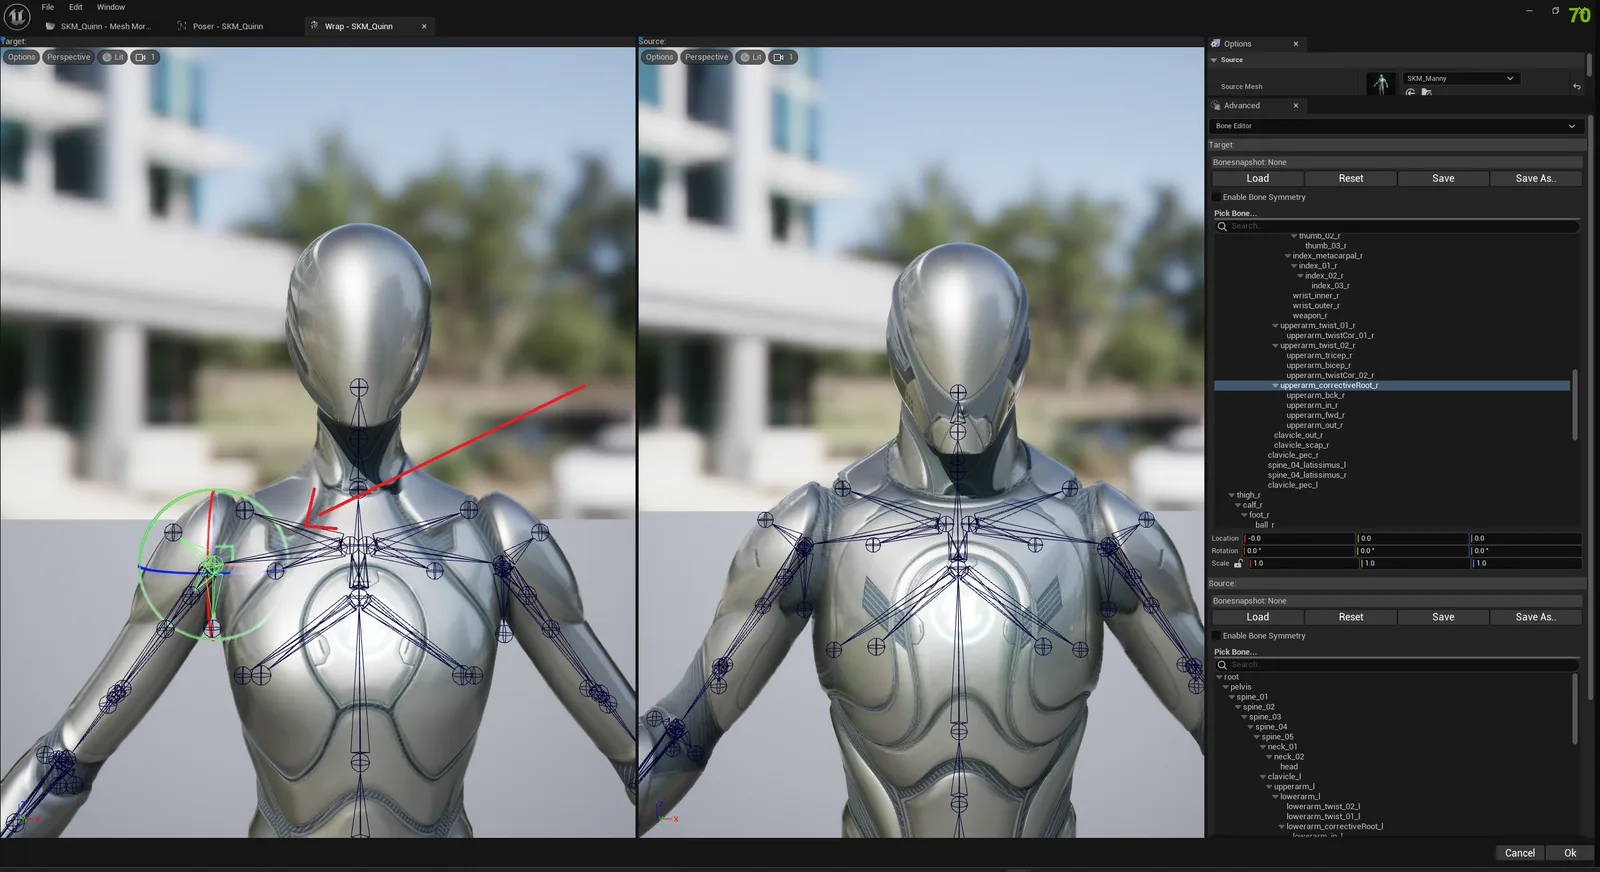
Users can also manually enter transformation values in the widgets below the bone list.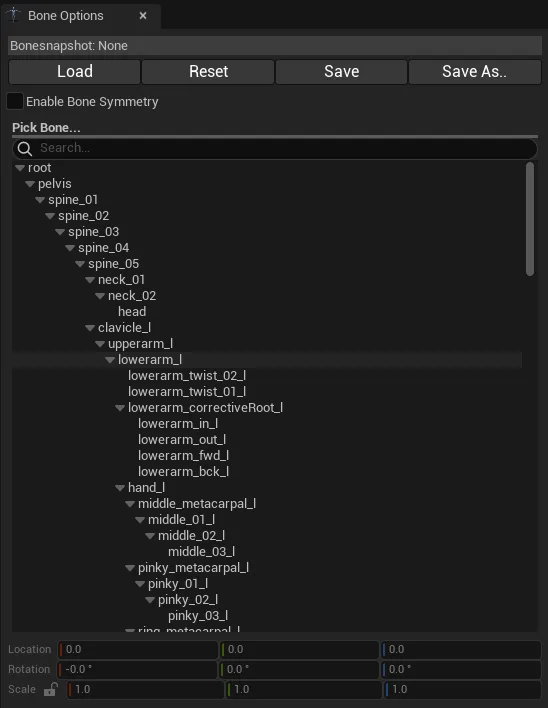
Bone Editor allows Undo/Redo actions by using Ctrl+Z and Ctrl+Y
Bone editor supports Bone Symmetry and can be enabled by enabling the Symmetry Checkbox
Bonesnapshots are another important component of Bone Editor and users are allowed to Load and Save Bonesnapshots that will hold the skeleton transformation.
There are several visual settings for Bone Editor that can be accessed by navigating to Edit->Settings.
| bDrawBones | Whether to draw bone indicators in the Target and Source Viewports |
| bDrawFullBones | Whether to draw bone indicators from start to end in the Target and Source Viewports |
| BoneIndicatorSize | The bone drawing indicator size |
| bScaleBoneIndicatorToBoneSize | Whether to scale the bone indicator relative to the bone size |
| DeselectedBoneColor | The color of the bone indicators when they're unselected |
| SelectedBoneColor | The color of the bone indocators when they're selected |
Classic › Editor › Advanced Operations › Wrapper
Section Selection in the Wrapper allows users to select certain mesh sections in both Target and Source. The wrapping will proceed only for the selected mesh data.
In order to open Section Selection, users have to select it in Advanced Menu.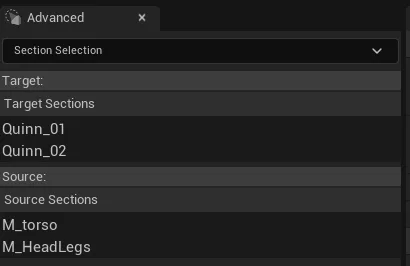
Users can select multiple sections or deselect.
Classic › Editor › Advanced Operations › Wrapper